40 Point Desktop Patch Bay
Looking for a way to extend flexibility with your effects pedals? The Minibay could open a new world of creative exploration.
Patching Your Creativity
The humble patch bay has been a staple of recording studios ever since someone figured out a patch bay was a simple and flexible way of connecting all your gear without having to fossic behind impossibly inaccessible panels! A logical but not exactly gear-lust inducing solution to a problem.
Doesn’t sound like much fun, that is until now - enter the DF Audio Minibay. I came across the Minibay quite by accident. Whilst I have a couple of semi-modular synths in the form of two Moog Mother 32s, I’ve never been particularly into the Eurorack world. Having said that, I like to have my synths, which also include a Sequential Take 5 and a Volca Kick, along with my effects pedals set up and ready to go. But, if I want to re-patch different synths to different pedals, I have the old fossic round the back problem. What’s more, I’ve been thinking I’d like to use my effects pedals on tracks recorded in the DAW, and in addition, it also seems a waste not to use them when recording acoustic instruments.
In a light bulb moment I searched to see if there was such a thing as a Eurorack style patch bay. There is and it solved my problems instantly and in a fun way!
40 Points of Creativity
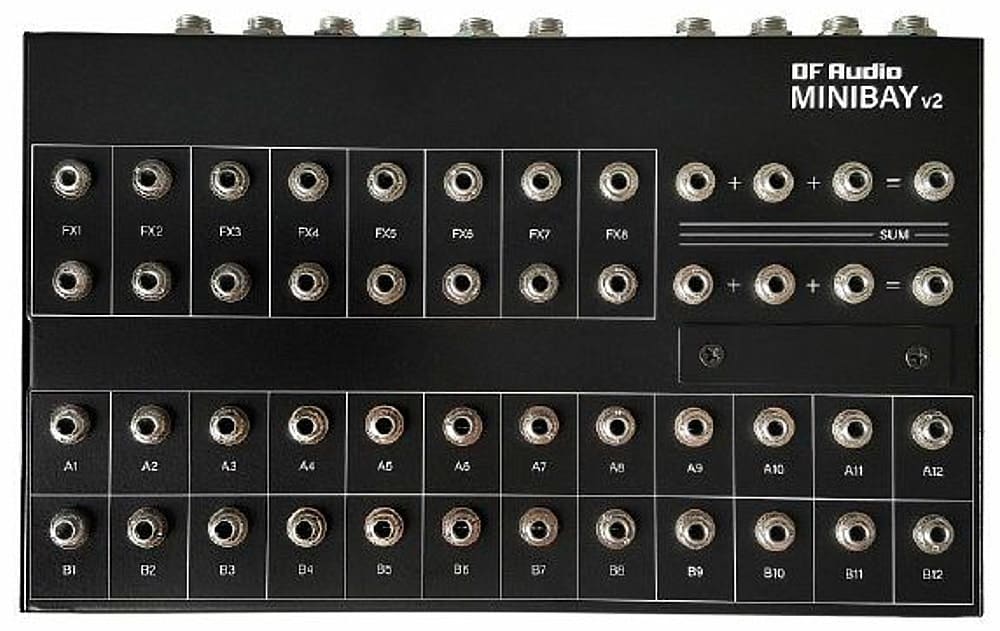
The DT Audio Minibay is a 40 point desktop patchbay built in a solid pressed steel case with all connectors surface mounted and made of metal. Designed in Australia and manufactured in Thailand it’s not much bigger than a large effects pedal measuring 234mm x 140mm x 40mm. It’s a passive device so as expected does not affect the signal quality at all. It connects to the outside world using standard TRS 6.35mm connectors on the back and all the patching is done on the top surface using standard Eurorack patch cables.

You could configure the Minibay any which way you like as each input on the back corresponds to a pair of patch points on the top, but DF Audio have helped things along by designing a sensible layout ready to use. The top row consists of 8 mono FX patch points. I wired the connecting rear cables so that the effects sends were on the top row and the returns on the bottom.
The next two rows have 12 patch points marked A1 to A12, directly above 12 patch points marked B1 to B12. A logical way to use these is to have your inputs from instruments on the A layer and outputs to your DAW or mixer on the B layer. Each A/B combo can be ‘normalled’, which means that each ‘A’ patch point is connected internally to its corresponding ‘B’ patch point without the need for patch cables. However, as soon as a patch cable is inserted into either the A or B patch point the direct (internal) connection is broken. This is handy in that I, for example, have the Take 5 normalled to input channels 5 and 6 on the DAW, and it’ll play without any patching. But if I want to insert an effects pedal between the Take 5 and my DAW, I patch in the effects using patch cables. The A/B normalising is switchable and there’s a series of DIP switches under a screwed in panel mid-right of the surface.
It’s important to note that stereo devices take up two patch channels and likewise, if you’re running your effects pedals in stereo, your effects channels drop down from 8 to 4. Having said that, there’s nothing to suggest you can’t ‘rob’ some of the A/B row patch points for effects pedals if you have spares.
Additionally there’s two channels of passive mixing each with 3 inputs (top right) which adds even further flexibility.
Example of Use

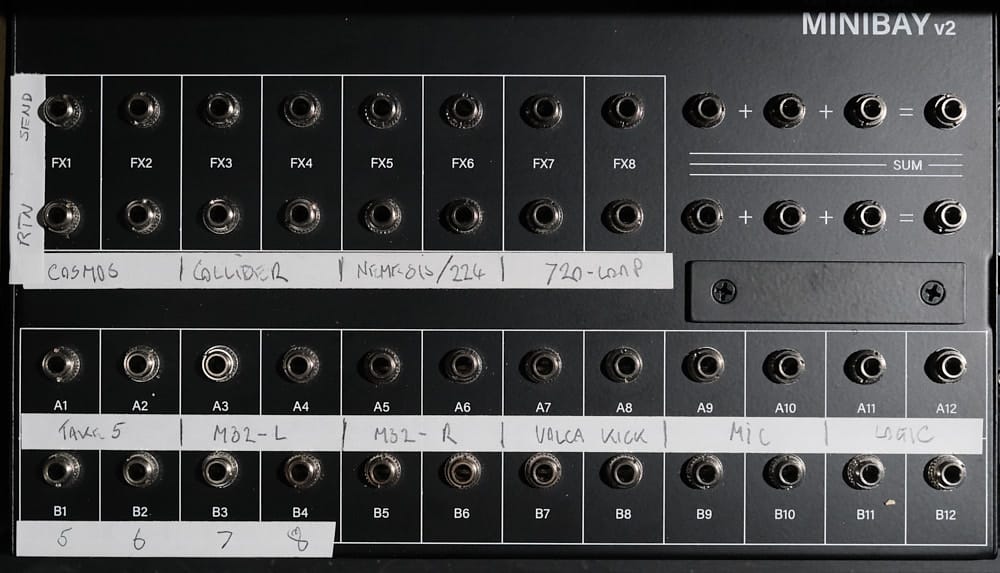
To give you an example, here’s how I’ve patched it for the above set up:
FX1 and FX2 - Soma Cosmos (Stereo)
FX3 and FX4 - Source Audio Collider (Stereo)
FX5 and FX6 - Source Audio Nemesis Delay going into a UAD Golden Reverb (Stereo)
FX7 and FX8 - EHX 720 Looper (Stereo or two mono channels)
A1/A2 - Sequential Take 5 (stereo)
A3/A4 - Moog M32 (mono but wired to both channels)
A5/A6 - Moog M32 (mono but wired to both channels)
A7/A8 - Korg Volca Kick (mono but wired to both channels)
A9/A10 - Eventide Mixing Link Mic Preamp with Effects Send (mono but wired to both channels)
A11/A12 - Stereo output from DAW
B1/2 - Channels 5/6 into DAW (Input as Stereo L/R)
B3/4 - Channels 7/8 into DAW (Input as Dual Mono centre panned)
Whilst the number of patching options with this set-up isn’t quite as great as the number of particles in the known universe, there’s certainly a lot on offer, especially when you think that the mono synths are essentially split into dual mono, meaning they can be sent to different effects configurations at the same time and that various signals can be summed before sending somewhere else.
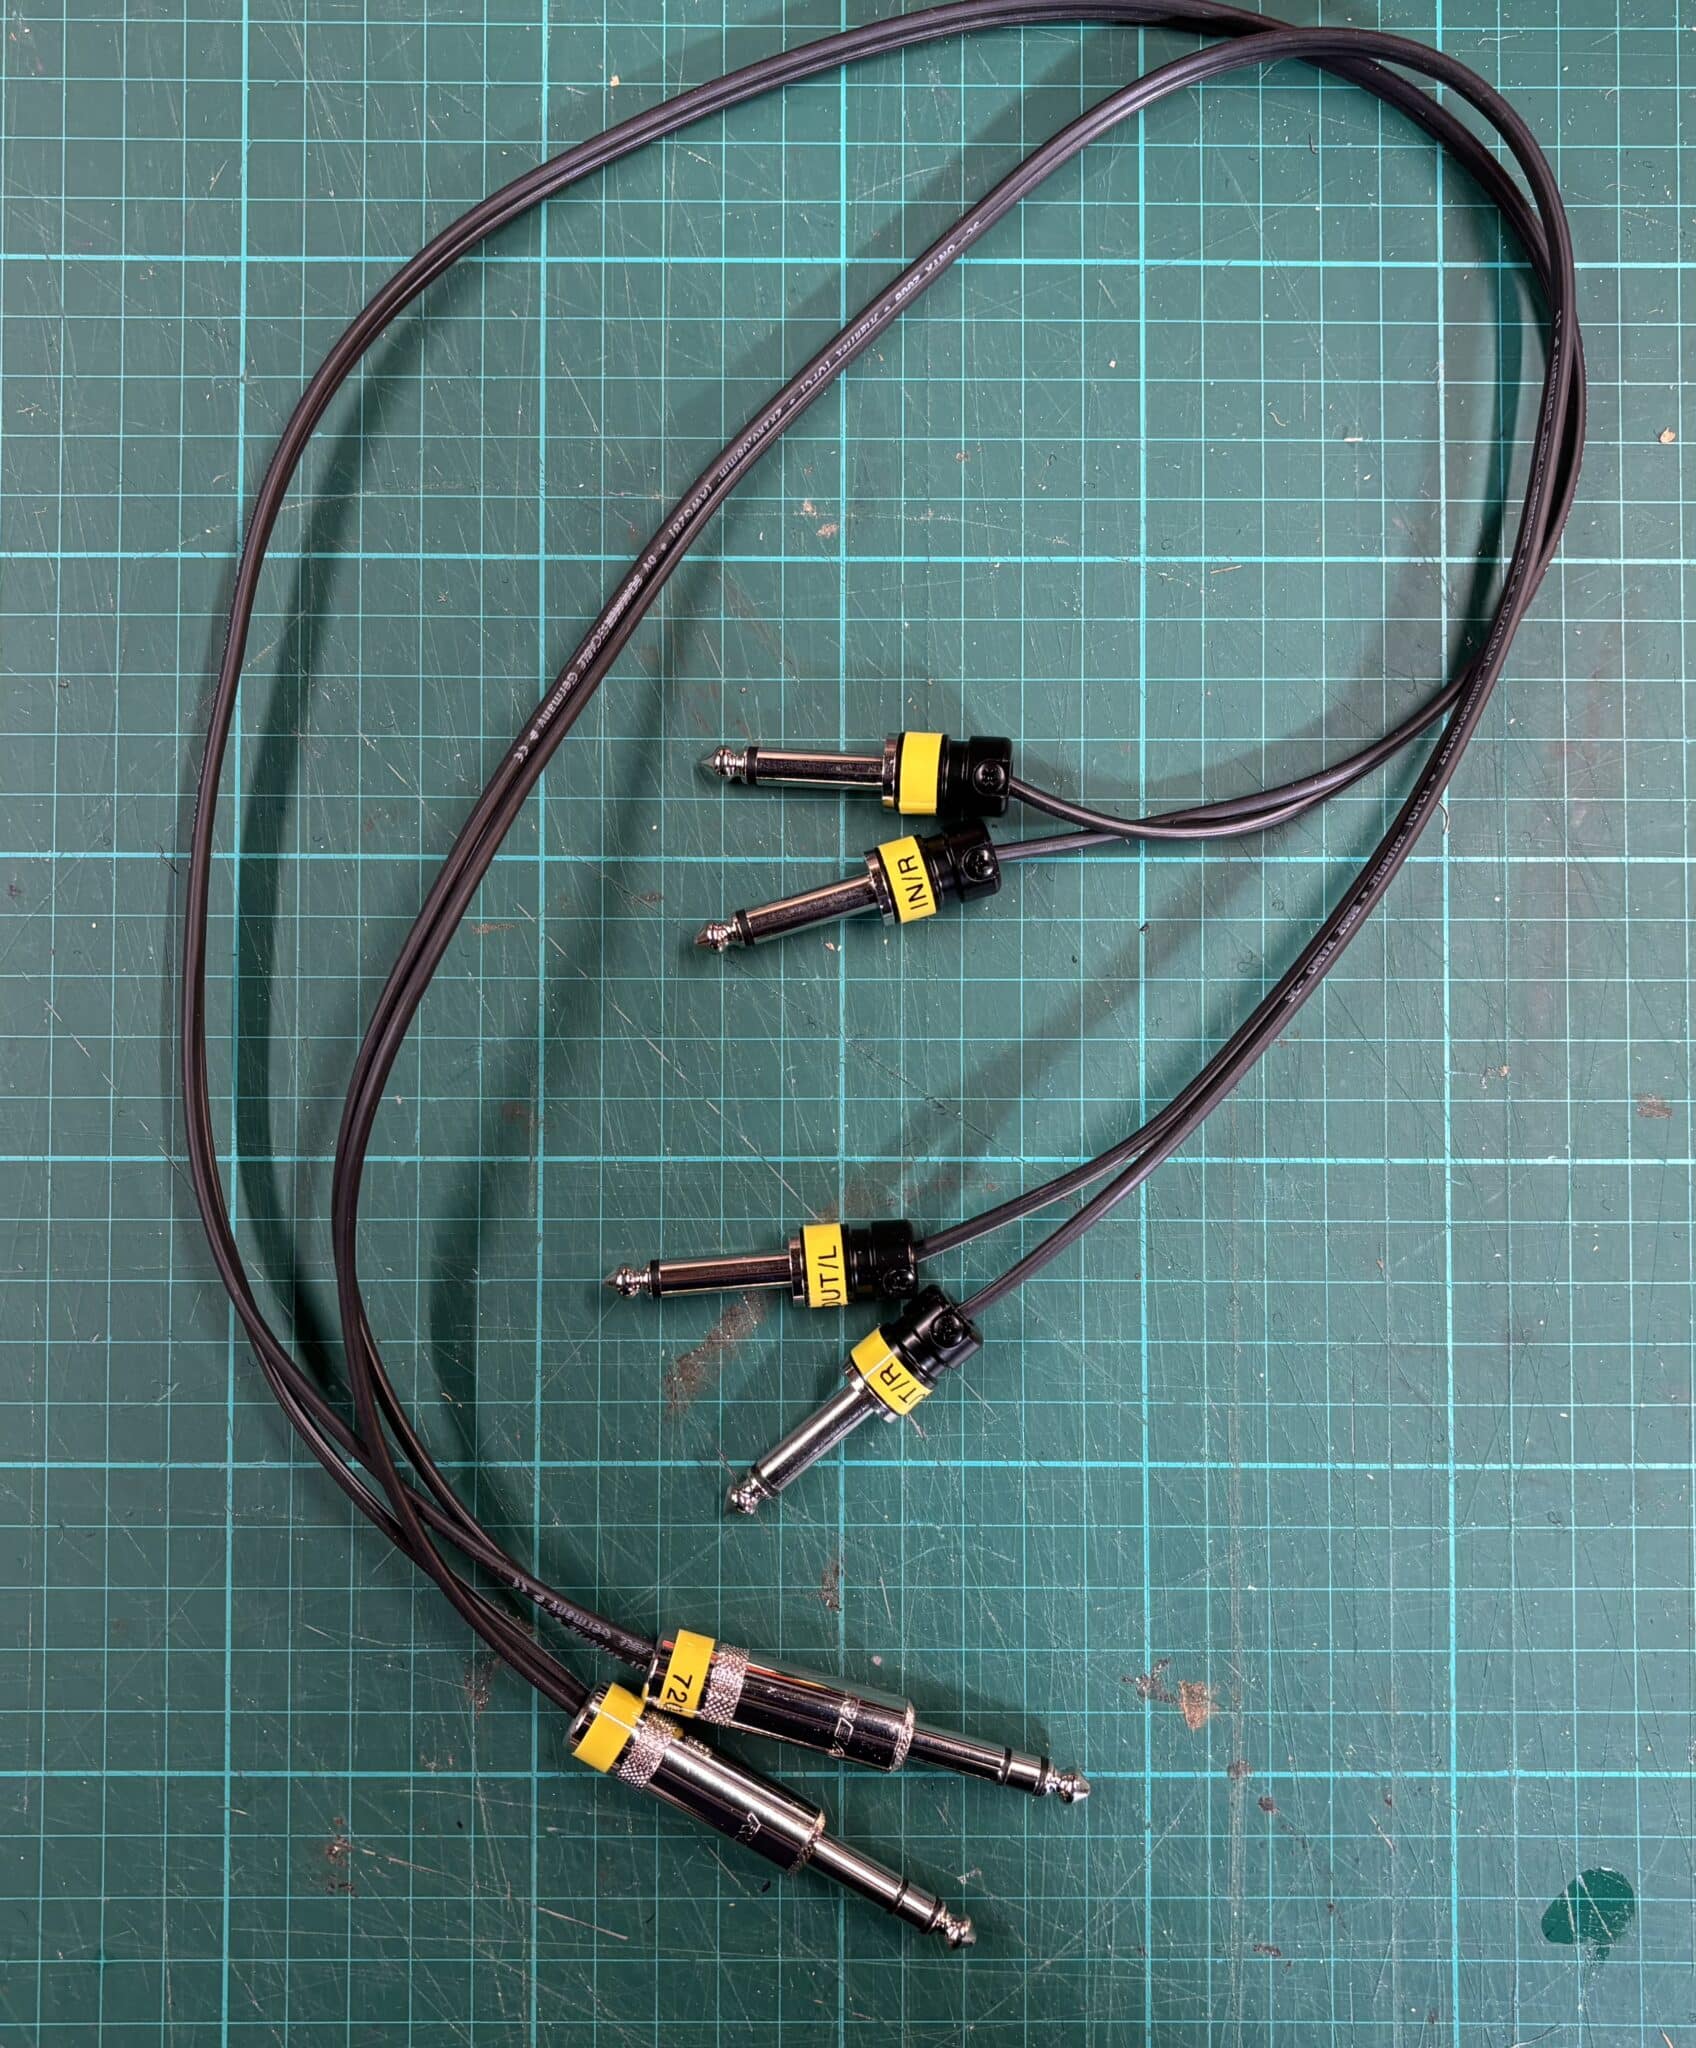
So far it’s all been positive, so what are the downsides? Well one lesson I’ve learnt is that you have to put some planning thought into cabling and so I decided it would be easier to make a fresh set of cables to connect the gear to the Minibay. You can, however, use straight insert leads on the back panel, they would work fine, but when it came to connecting stereo effects units, I decided it would be tidier to make some bespoke cabling which had the two inputs on one twin cable and the two outputs on another, and that meant careful head-scratching about what happened at the patch panel end with clear labelling essential!
Summary
In the short time I’ve had the Minibay, I’ve come to realise that it transforms what could be described as a vanilla utility unit into something which opens the door to extensive creative exploration at your finger tips and as such, ranks alongside any one synth or effects unit in my collection.
Highly recommended.
DF Audio https://dfaudio.com.au/
Available in the UK from Juno £169.99
(I wrote this review following a request after a 'show and tell' at one of our fortnightly virtual SOS meets.)
Bob


